Toilet INSTALLATION
BEFORE YOU BEGIN
Before proceeding with installation, please read these instructions carefully to familiarise yourself with the required tools, materials and installation sequences. Please leave these instructions for the consumer after installation.Prior to installation, inspect the toilet to ensure that no damage has occurred in transit. If damage has occurred, or a visible defect exists, do not proceed with installation, and advise your supplier immediately.
CAUTION: Risk of personal injury or product damage.
Handle with care. Vitreous china can break or chip if the product is handled carelessly.
- Observe all local plumbing and building codes.
- Carefully inspect the new toilet for damage.
- If the existing toilet does not have a supply shut-off valve below the cistern, install one before installing the new toilet.
TOOLS AND MATERIALS REQUIRED

Tape measure

Level

Caulking Gun

Drill & Bits

Sponge

Screwdriver

Safety Glasses

Pencil
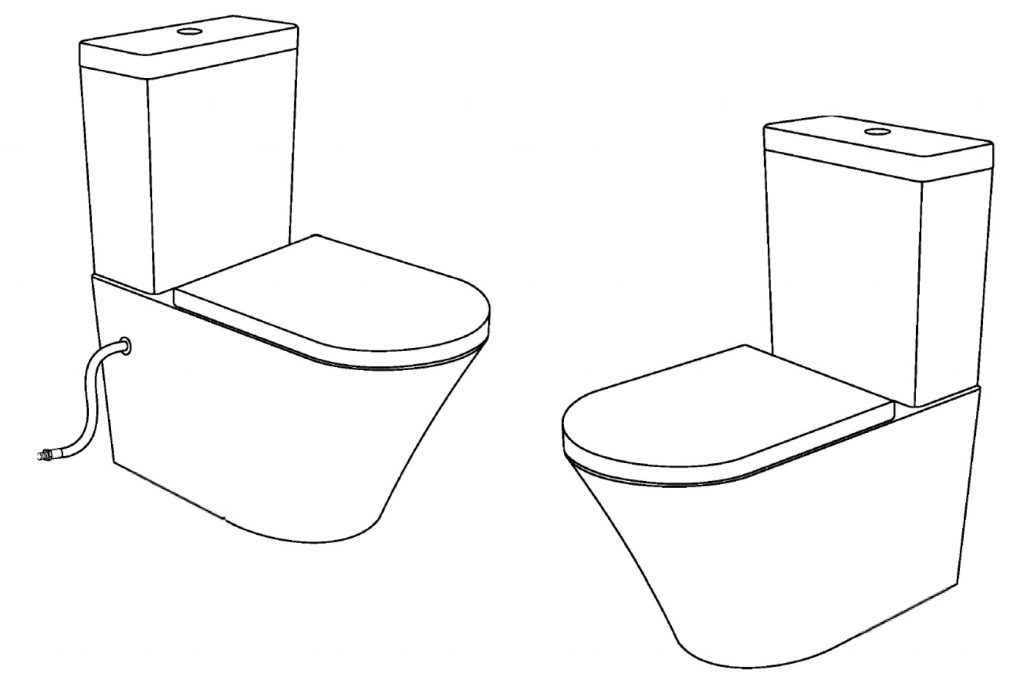
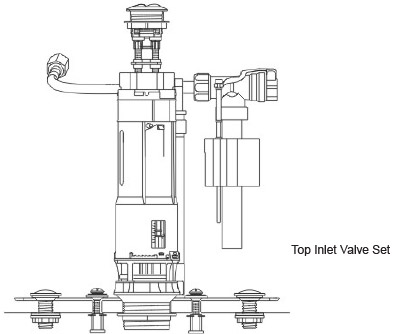
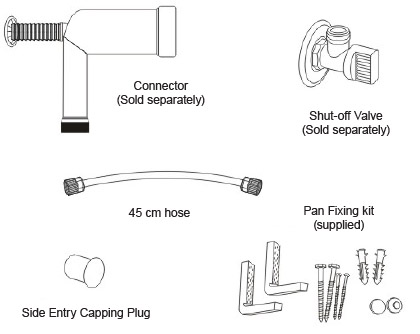
PARTS IDENTIFICATION
PREPARING TO INSTALL
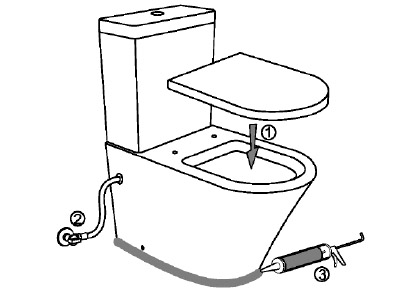
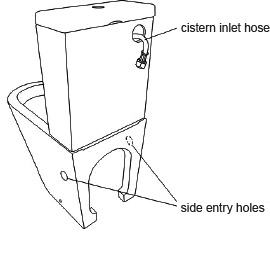
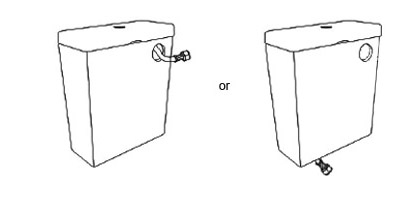
1. CISTERN INSTALLATION — TOP INLET
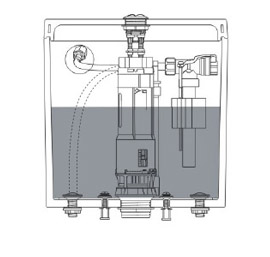
2. Install the Top Inlet Valve / Bottom Inlet valve to the cistern
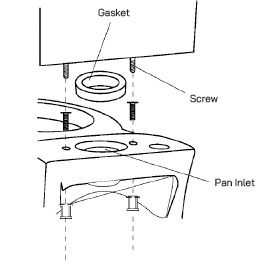
3. Position the cistern on the pan by centering the gasket on the pan inlet. Securely tighten the screws so the cistern is level.
4. Connect the supply hose to the cistern inlet through back inlet hole or bottom inlet fittings and connect the hose to the water supply shut-off valve.
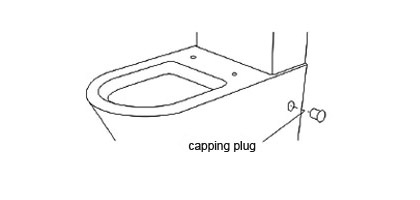
5. Connect the supply hose to the shut-off valve to test the system for leaks. Shut off the water supply and disconnect the hose. Insert a capping plug into the unused hole.
PAN INSTALLATION
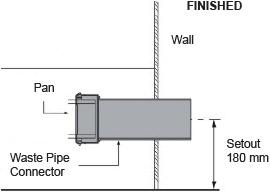
1. Define the position of the connector:
Place the connector onto the pan and position the connector between the outlet and waste pipe.
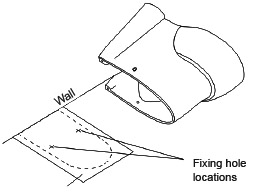
2. Using the pencil or template, mark the positions of the floor fixing kit holes.
3. Drill fixing holes at the marked locations on the floor and insert the anchors where required.
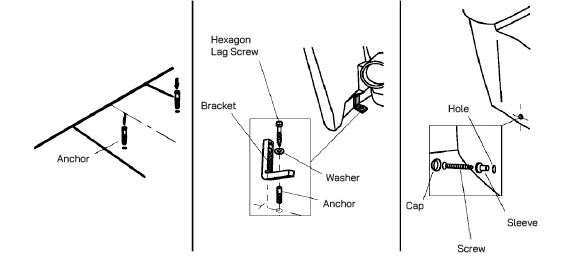
4. Place a washer onto each of the hexagon screws and fix the brackets to the floor.
5. Position the toilet in the marked location, while ensuring an effective connection is made with the pan connector.
6. Install the plastic screw sleeves and use the screws to fix the toilet to the brackets. Attached the chromed caps to the screw heads.
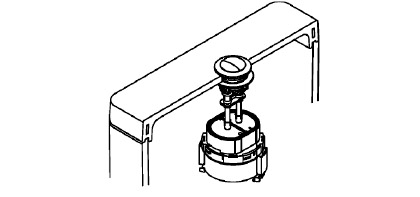
PUSH BUTTON INSTALLATION
Fit the lid and test the buttons. Adjust the rods as required.
FINALISING INSTALLATION
1. Install the seat as per the supplied seat instructions. Front edge of seat should follow the shape of the front edge of the pan.
2. Ensure silicon rubber washer is fitted between seat connector and pan to ensure seat is rigid.
3. Make final connection of water supply hose to shut-off valve. Test the system for leaks.
4. Apply a suitable sealant between the pan and adjacent surfaces..