VANITY INSTALLATION

The classic design of our vanities ensures affordable quallity and timeless style in a range created to suit any bathroom size.
Premium solid tops and moisture resistant exteriors ensure durability, keeping you vanity looking good even in the busiest of bathrooms.
It’s the details that Best BM cares about – from pioneering the latest technology, to innovative design.
Floor standing Models

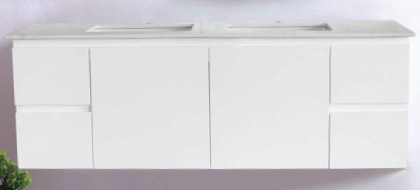
Double bowl Model
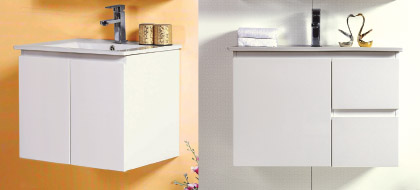
Wall hanging Models
BEFORE YOU BEGIN
Please read these instructions carefully to familiarise yourself with the required tools, materials and installation sequences. Follow the sections that pertain to your particular installation. This will help you to avoid costly mistakes. In addition to proper installation, read all operating and safety instructions.
All information is based on the latest product information available at the time of publication. Best BM reserves the right to make changes in product characteristics, packaging, or availability at any time without notice.
INSTALLATION
Step 1.
Prior to installation, inspect cabinet to ensure that no damage has occured in transit.
If damage has occured, or a visible defect exists, do not proceed with installation, and advise your supplier immediately.
On timber walls, ensure that there is frame work behind the cabinet’s back rail or wall, to screw into when fixing the cabinet to the wall.
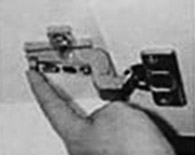
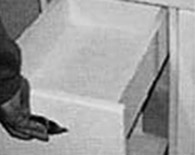
To make installation easier, remove the door(s) and drawer(s). Be sure to store them in place where they won’t get damaged!
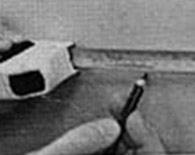
Step 2.
Measure and mark the hole centres for pipes (water supply and waste) on the base and back panel as required.
For wall hung vanities, determine the desired height for the vanity top at this point. Between 800 and 850 mm from floor to vanity top is recommended.
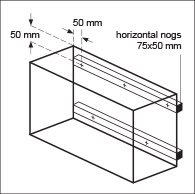
Ensure that there are 2 appropriate horisontal nogs in the wall to allow the vanity cabinet to be adequately fastened to the wall.
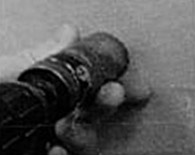
Step 3.
With a suitable sized hole saw, drill the holes for water supply and waste.
Having drilled the required holes, fit the cabinet into position over the pipework.
Before proceeding to fix the cabinet into position make sure that the cabinet is sitting level and square and the floor at the selected location is flat and free of bumps and protrusions.

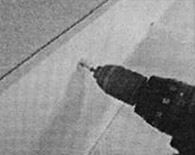
Step 4.
Drill holes through the back rail or wall to align with nogs the wall behind, and then fix the cabinet to the wall. Note: Wall fixing are not supplied.
Wall hung vanities must be fastened to a 75×50 nog or stud in the wall using a minimum of 10 g 75 mm hex head wood screws with a 20 mm washer to ensure the load is spread evenly.
A guide to the number of fasteners to use is given below.
600 wide = 5 screws, 900 wide =7 screws, 1200 wide = 9 screws.
Screws should be positioned in a general pattern as indicated by “+“ marks in the diagram for a 600 wide vanity.
When fixing to masonry walls use appropriate masonry fasteners as a substitute for the screws.

Step 5.
Check Vanity tops stability on the cabinet. If the top is rocking slightly use wedges supplied. Apply a continuous bead of silicone on the top edge of the cabinet.
This will ensure that the vanity top stays securely fitted to the cabinet and no water spillage will find it’s way into the cabinet through the joint.
Important: Ensure no gaps are left in the sealant bead.
Note: Sealant not supplied. (Recommended sealant is Sika Silaflex NG white).
Step 6.
Unpack top and check for any damage that might have occurred in transit.
Check and confirm the fit of your selected tapware.
Place vanity top onto the cabinet ensuring that the back is flush against the wall and there is an even overhang each side of the caninet.
Wipe off any excess sealant.
Step 7.
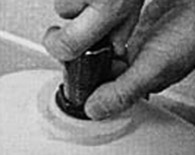
Fit the waste and the tapware.
Connect the water supply to the taps and waste pipe to the waste outlet.
Run hot and cold water and check for the leaks.
When satisfied with the results move to step 8.
Step 8.
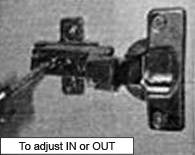
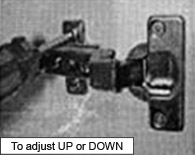
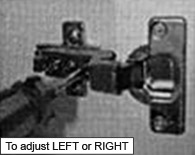
Refit the doors and adjust the doors hinges to ensure an even clearance. Check the number printed underneath each drawer and refit them in the right order.
Drawer 1 is the top drawer, followed with 2 and 3 below.
Adjustment on the doors can be achieved as follows:
Step 9.
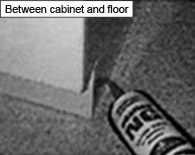
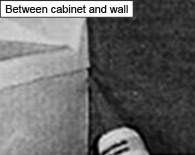
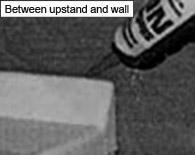
All edges MUST be sealed with an approved Silicone Sealant.
